Custom vulnerabilities
User CVE DB 
Custom CVEs let you define your own vulnerabilities and have ONEKEY match them against firmware components. Use this to extend vulnerability coverage from any source – regional databases (such as China's CNVD or the EU's EUVD) or proprietary findings from internal security research.
Note
For details on how user CVEs are matched against components, how they interact with the built-in CVE database, and how triage works, see Custom CVE matching.
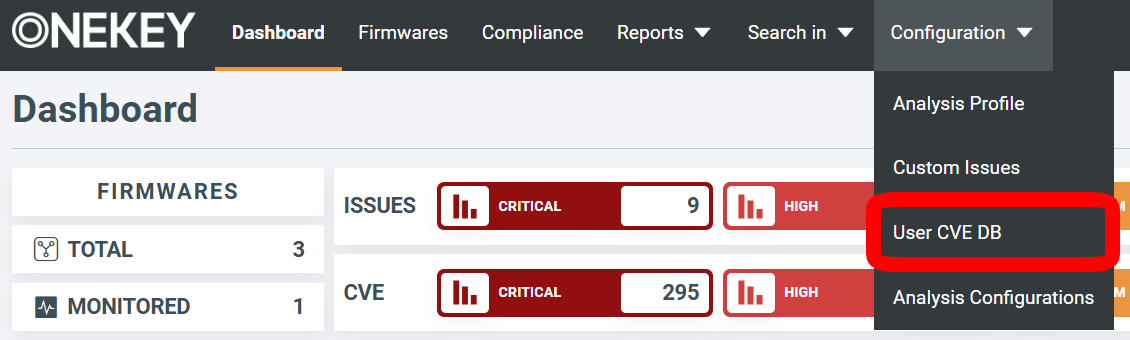
To open the custom CVE database:
- Click Configuration in the top menu bar.
- Select User CVE DB.
To add a custom CVE:
- Click + New Vulnerability.
- Fill in the Summary tab:
- IDs — at least one ID is required; the first entry becomes the primary ID shown in the table and firmware views. Any additional IDs are stored as aliases.
- Published date and Last modified date — both required.
- Fill in CVSS 3.1 (required for severity calculation). CVSS 4.0 is optional and currently not used for severity.
-
On the Configurations tab, define which components the CVE affects:
- PURL — a Package URL in the form
pkg:<type>/<namespace>/<name>(for example,pkg:npm/lodashorpkg:generic/acme/agent-service) plus a VERS spec. - CPE — a CPE 2.3 vendor and product segment plus a version spec.
At least one configuration is required. You can add multiple PURL configurations, multiple CPE configurations, or mix the two. A CVE applies to a component if any configuration matches.
Each configuration supports exact matches and version ranges, and multiple ranges can be added per configuration. The exact syntax differs between PURL (defined by the VERS spec) and CPE (
>=,>,=,<,<=bounds); see Configuration matching for examples. - PURL — a Package URL in the form
-
Click Save in the top-right corner.
Info
- The Admin, Observer, Analyst, Editor, and Manager user roles can access the User CVE DB. Only Admin and Analyst can create, update, or delete entries.
- User CVE entries are scoped to your tenant. They are stored separately from the global CVE database and are not visible to other tenants.
- The table displays up to 1,000 entries – a UI-only limit. Entries beyond it remain stored and active for matching, and can be listed, queried, edited, or deleted via the GraphQL API. Listing returns up to 10,000 entries per request – paginate to fetch more.
Rerun analysis on affected firmware for the new entry to appear in results. User CVE entries carry a USER source tag; edits and deletions are recorded in the Audit trail.
Click a custom CVE in the table to open its details. Click Edit to modify the entry.
To delete a custom CVE, select its checkbox in the table and click Delete selected.
Tip
The createOrUpdateUserCVEEntries GraphQL mutation accepts a list of entries, so you can add or update entries in bulk with one call. The deleteUserCVEEntries mutation accepts a list of CVE IDs, so you can remove entries in bulk. Together, they let you sync the User CVE DB from a script. See the REST and GraphQL APIs for authentication and usage.
Custom issues
Custom issues allow you to define organization-specific security rules that extend beyond ONEKEY's standard detection framework. Using custom OQL queries, these rules identify specific files, patterns, or conditions in firmware that indicate security vulnerabilities unique to your environment.
To get started:
-
Click Configuration in the top menu bar and select Custom Issues

-
Click Add new custom issue rule.
-
Provide a unique name, select your confidence level, add an optional description, and configure the CVSS 3.1 and 4.0 metrics.
Note
Both CVSS versions are mandatory.
-
In the File query field, write an OQL rule to define which files or conditions will flag the custom issue. For example, the query:
Creates a custom issue that flags web server configuration files that may contain insecure settings.
See the complete list of file OQL fields for available options.
-
Click Create Issue Definition.
- Rerun analysis on affected firmware for the changes to take effect.
Your custom issues will appear in both the Global Issues page and the individual firmware analysis views after analysis completes under Custom user defined.
Click the Edit icon to update a custom issue; click the Delete icon to remove it.
A good example of when a custom issue might come in handy is detecting an SMTP credential leak – a security issue where, for instance, employee credentials might be stored in a PHP configuration file (php.ini). To flag this, create a custom issue using the following OQL query:
Set the CVSS 3.1 and 4.0 scores, and optionally add a comment describing the nature of the vulnerability.